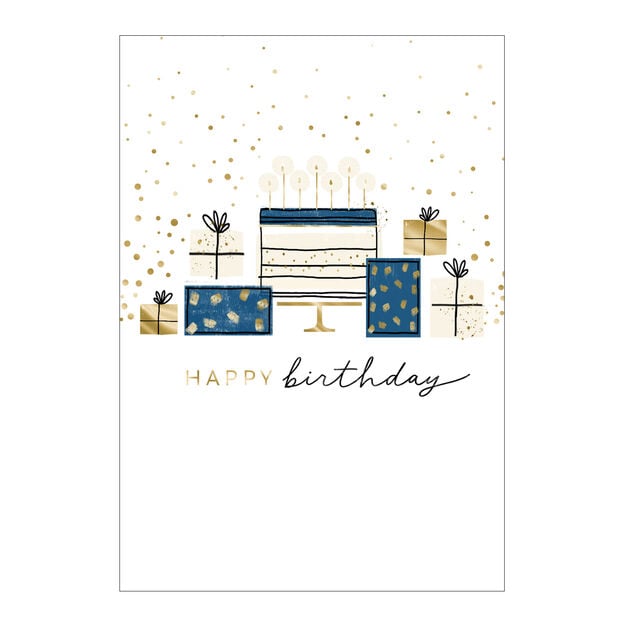
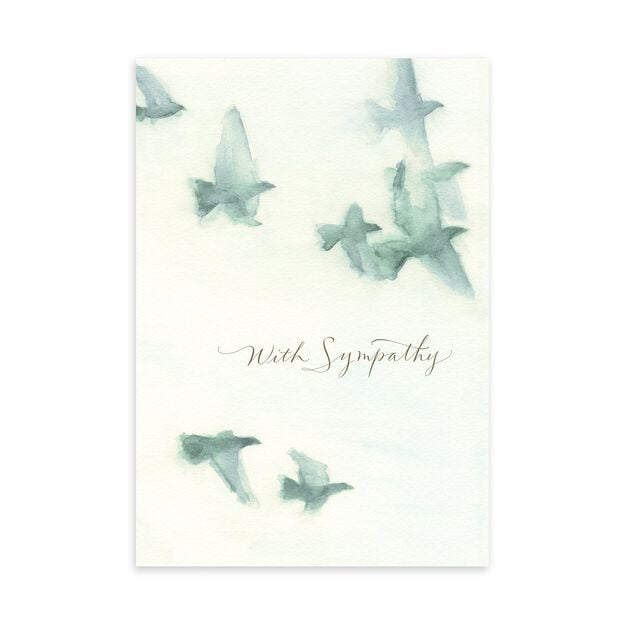
10 Tips for Handwriting Beautiful Cards

Creating personalized cards with beautiful handwriting is an art that truly reflects your attention to detail and thoughtfulness. Whether you're a crafter, DIY enthusiast, business owner, or stationery lover, mastering the art of handwriting can elevate your card designs to new heights, expressing your unique touch. In this blog post, we’ll walk you through essential handwriting tips to ensure your Hallmark cards are not only beautiful but also professionally crafted. Plus, Hallmark Business Connections offers a personal font, allowing you to transform your handwriting into a digital font for truly personalized cards.
Handwriting reflects your personality and effort, transforming an ordinary card into a cherished keepsake. Be it a birthday greeting, thank-you note, or holiday wish, beautiful handwriting enhances the emotional impact of your message, making it more memorable.

#1 - Choose the Right Tools
The journey to beautiful handwriting begins with selecting the right tools, and we're here to guide you every step of the way. Invest in high-quality pens and paper that align with your unique style. Whether you prefer fine-tipped pens for intricate details or brush pens for elegant calligraphy strokes, we encourage you to explore various options to find what feels just right in your hand.
At the heart of an exceptional writing experience is quality paper that ensures smooth ink flow and prevents smudging. Choosing textured paper can add a distinctive touch, perfectly complementing your favorite pen. Our Hallmark cards, renowned for their high-quality paper, are perfect for those who value craftsmanship. We believe that the right tools can transform the look of your handwriting, and we are committed to providing products that inspire your creative journey.
#2 - Practice Consistent Letterforms
At the heart of beautiful handwriting lies consistency. By practicing each letter of the alphabet with uniform size and shape, you set the foundation for elegant writing. Pay attention to the spacing between letters and words to maintain harmony. Guidelines or ruled paper can be your allies in keeping lines straight.
Dedicate time to mastering basic strokes and letterforms before diving into more intricate styles. With consistent practice, you'll train your hand to write smoothly and predictably, resulting in cards that are not only neat but also professionally crafted.

#3 - Incorporate Calligraphy Elements
Adding calligraphy elements can elevate your card designs to a more elegant level. Learn basic calligraphy techniques such as upstrokes and downstrokes. Upstrokes should be light and thin, while downstrokes are heavier and thicker. This contrast creates a visually appealing effect.
Start with simple calligraphy styles like modern script or faux calligraphy, where you mimic the look of calligraphy using regular pens. Gradually, you can progress to more intricate styles as you gain confidence. Calligraphy can transform your handwriting into a work of art.

#4 - Maintain Proper Posture and Grip
Your posture and grip play a crucial role in achieving beautiful handwriting. Sit comfortably with your back straight and feet flat on the floor. Hold your pen lightly but firmly, allowing for controlled movements. Avoid gripping too tightly, as it can lead to fatigue and shaky lines.
Rest your hand on the paper to provide stability and reduce strain. A relaxed posture and proper grip enable smooth, flowing strokes, resulting in more attractive handwriting.
#5 - Use Guidelines for Alignment
Guidelines are essential for maintaining alignment and spacing. Use ruled paper or create your own guidelines with a ruler. Marking the baseline, x-height, and ascender/descender lines will help you keep your letters uniform in size and position. Guidelines are especially useful for beginners to ensure consistency. With practice, you'll develop an intuitive sense of alignment, but it's always helpful to have guidelines as a reference.
#6 - Experiment with Different Styles
Don't be afraid to experiment with various handwriting styles. Try cursive, print, or a combination of both. Explore different fonts and adapt them to your handwriting. Each style offers a unique aesthetic, and experimenting allows you to discover what suits your personality and the occasion best. Switching between styles keeps your card designs fresh and interesting. It also helps you adapt your handwriting to different themes and preferences.
#7 - Practice Regularly
Like any skill, beautiful handwriting requires regular practice. Dedicate time each day to practice writing. Focus on specific letters or styles that you find challenging. Over time, you'll notice significant improvement in your handwriting. Consistency in practice builds muscle memory, making your handwriting more fluid and natural. Set aside a few minutes daily, and you'll see remarkable progress.
#8 - Add Personal Touches
Personal touches make your cards unique and special. Incorporate doodles, illustrations, or decorative elements that complement your handwriting. Use different colors and inks to add vibrancy and personality. Adding small embellishments like hearts, stars, or flourishes can enhance the overall appeal of your cards. These personal touches show your creativity and thoughtfulness.
#9 - Pay Attention to Spacing and Layout
The spacing and layout of your text can dramatically enhance the visual appeal of your handwriting. Ensure that there's a balanced amount of space between each letter, word, and line to make your writing legible and aesthetically pleasing. Consider the overall layout of your card—think about where your text will be positioned and if any additional design elements are included. A well-thought-out layout ensures that your message is clear and visually engaging, demonstrating professionalism and care in your card's design.
#10 - Embrace Mistakes and Keep Practicing
Mistakes are a natural part of the learning journey and should be seen as opportunities for growth. When you encounter a mistake on a card, creatively incorporate it into your design with embellishments or a decorative touch. Embrace imperfections as motivation to refine your skills, knowing we’re here to support your artistic journey.
Continuously challenge yourself with new techniques and styles and remember that each stroke takes you closer to mastering the art of beautiful handwriting. Ready to elevate your card designs? Start applying these handwriting tips today and watch your skills blossom. We're excited to be part of your creative process. Happy writing!
FAQs for Handwriting Beautiful Cards
How long does it take to improve handwriting?
Improvement varies for everyone, but with regular and focused practice, noticeable changes can typically be seen within a few weeks.
What are the best types of pens for calligraphy?
Many calligraphers prefer brush pens or dip pens, as they offer flexibility and precision required for elegant lettering.
Can left-handed individuals improve their handwriting?
Absolutely, left-handed individuals can enhance their handwriting by finding the right tools and techniques tailored to their needs.
Is it necessary to use special paper for practicing handwriting?
While standard paper is sufficient, using high-quality or textured paper can enhance the writing experience and final presentation.
How often should I practice to see improvement?
Consistency is key, so aim to practice a little every day, even if it's just 10 to 15 minutes.
What should I do if I consistently make mistakes?
Embrace mistakes as learning opportunities and use them to pinpoint areas for improvement, adjusting your practice accordingly.
In this Article
-
#1 - Choose the Right Tools
-
#2 - Practice Consistent Letterforms
-
#3 - Incorporate Calligraphy Elements
-
#4 - Maintain Proper Posture and Grip
-
#5 - Use Guidelines for Alignment
-
#6 - Experiment with Different Styles
-
#7 - Practice Regularly
-
#8 - Add Personal Touches
-
#9 - Pay Attention to Spacing and Layout
-
#10 - Embrace Mistakes and Keep Practicing
Products
Similar Articles


How Cards Can Improve Networking in B2B
Oct 31, 2024


